Savor › Recipes › Homemade French Baguettes Recipe
Homemade French Baguettes Recipe
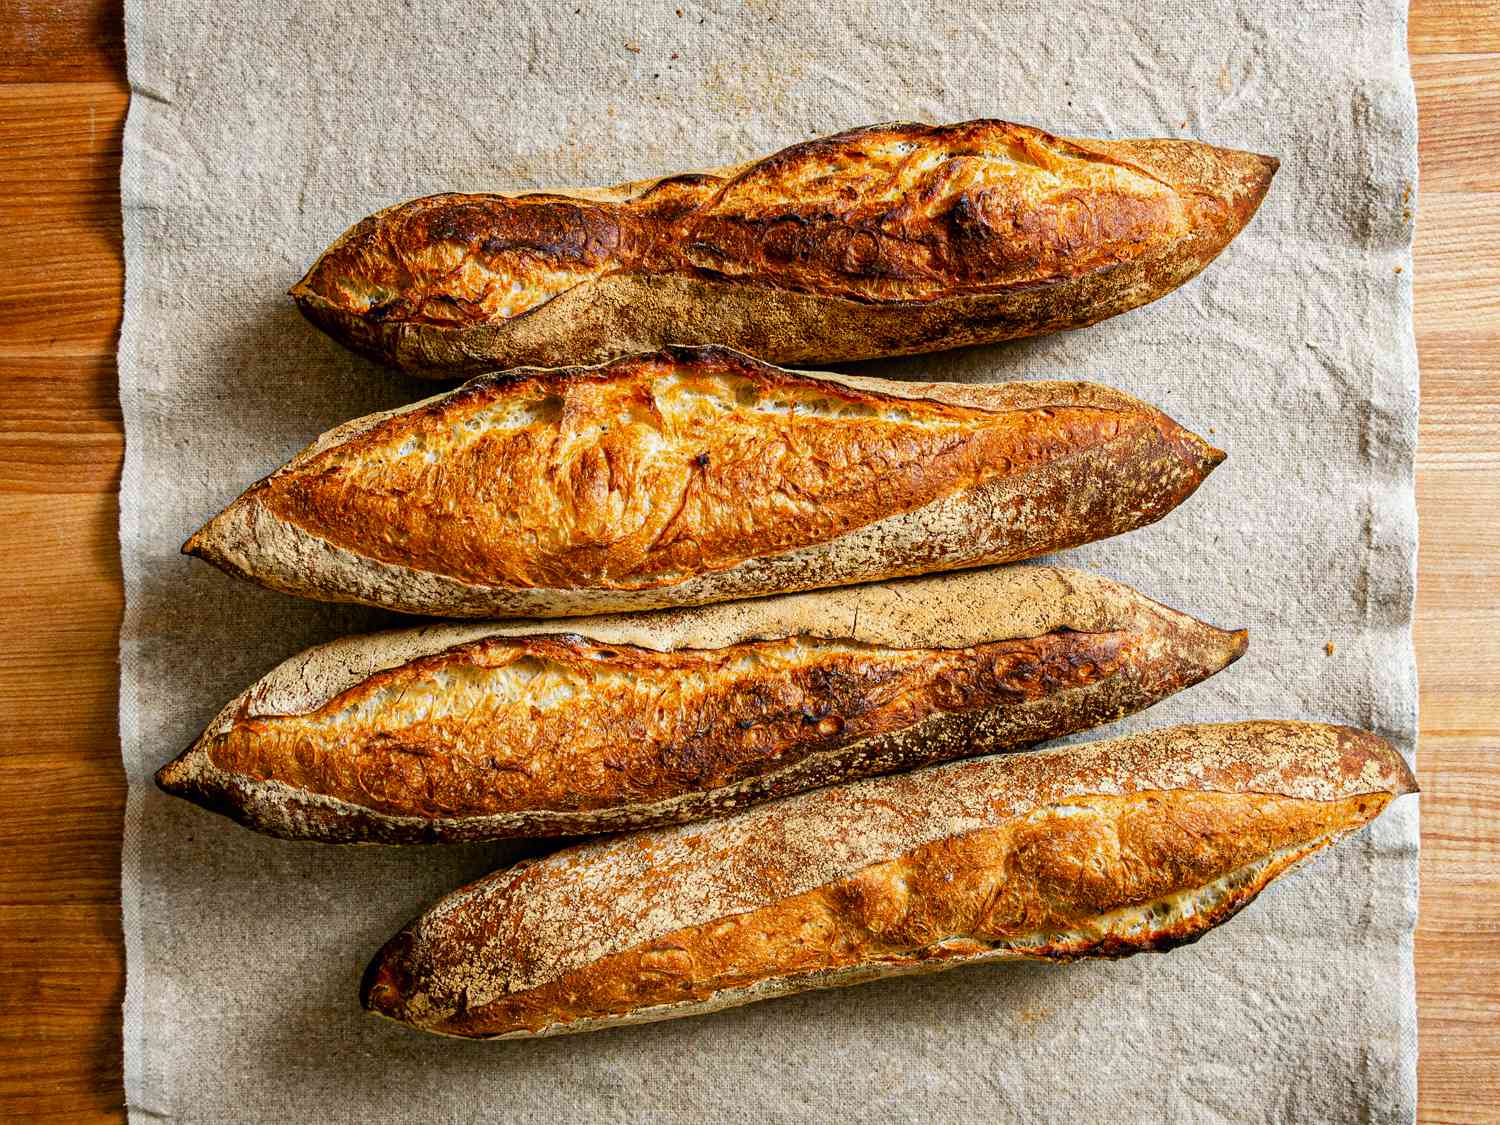
Craft perfect, crusty French baguettes right in your own kitchen! This recipe guides you to airy, golden loaves with a satisfying chew, using a blend of flours for authentic flavor.
Original recipe via seriouseats.com
Ingredients
- 56g ( 1/2 cup ) sifted whole-wheat flou r (see note)
- 465 g (3 1/3 cups) high-protein all-purpose flour , such as King Arthur (see note)
- 11 g (4 teaspoons) Diamond Crystal kosher salt ; for table salt, use half as much by volume or the same weight
- 4 g (1 teaspoon) instant yeast
- 1 g (heaping 1/4 teaspoon) diastatic malt powder , optional (see note)
- 375 g (1 1/2 cups plus 1 tablespoon) water , 75˚F (24°C)
Instructions
- Sifted whole wheat flour: In France, refined "white" flours contain more bran and germ than do American ones, which gives their loaves a golden-hued crumb and a wheatier, more complex flavor. Adding 5% whole wheat flour—sifted through a standard fine-mesh strainer to remove most of the larger particles of gluten-degrading bran it contains—to the all-purpose flour gives the baguette a similar flavor and appearance.
- Water: Baguettes, with their tender and open internal crumb, require a relatively high hydration (a high ratio of water to flour by weight). My formula has a hydration of 73% (this falls in line with other rustic breads like sourdough), which is as high as possible, yielding a dough that is not sticky or hard to handle.
- Yeast: Compared to other bread formulas, this recipe contains a relatively small amount of yeast. That's because it gets a long, cold fermentation in the fridge, rather than a quick room-temperature one. Dialing down the yeast and slowing down the proof encourages the production of more of the aromatic side-products of dough fermentation—acids, alcohols, esters, and other organic molecules—to develop complex flavor.
- Rectangular cake pan: When professional bakers make baguettes, they begin by dividing a massive amount of dough into many rectangular baguette-sized portions, a relatively easy thing to do when working with a huge mass of dough (plus having smaller portions makes it far easier to coax the dough into a uniform cylinder without overworking or degassing it). To achieve a similar effect at home, I cold-proof the dough in a rectangular 13- by 9-inch cake pan. The dough spreads out into a rectangle as it sits in the fridge, making it easy to divide into four more-or-less uniform pieces when it is turned out of the pan and onto a floured countertop later on.
- Couche: To maintain their uniform cylindrical shape and to prevent them from touching one another, the shaped baguettes need to proof within the folds of a floured linen cloth known in French as a couche. Coarse, heavy linen is the fabric of choice for couches because it has enough heft to stay upright when pleated, and the right sort of texture to wick moisture away from the dough without also attaching itself to it. The ideal dimensions of a home-scale couche are 17 inches wide and at least 20 inches long. I prefer the 18-inch wide couches from the San Francisco Baking Institute, because they are sized to fit a half-sheet. You could make your own couche if you can find a bolt of the right grade of linen, but pre-cut ones with hemmed edges that won’t fray aren’t all that more expensive than DIY versions. If you don’t want to invest in a couche just yet, the next best option is a large linen tea towel.
- Transfer peel: Once the baguettes are proofed, they are too floppy and fragile to move to a baking peel. Instead, you want to use a thin, stiff, beveled-edge wooden board known as a transfer peel. To use one, you use the transfer peel to roll a baguette over on the couche, use the couche to roll the baguette onto the transfer peel, then roll the baguette off of the transfer peel onto a sheet of parchment and use the peel to fine-tune its position, if needed. At first, all the flipping and flopping might seem like overkill, but in truth it is the gentlest and most effective way to move a baguette from one place to another. (It’s also why a transfer peel is sometimes known as a “flipper board.”) Again, a transfer peel is definitely something a handy person could fashion themselves, but commercial ones are inexpensive. They are a specialty item you’ll most likely need to order online.
- Pizza peel: If you are here, I’m guessing you already have a pizza peel to use for loading and unloading the baguettes. Just about any sort will do, as long as it is at least 12 inches wide and long. (I prefer a thin-bladed aluminum one myself.) If not, you can always use a rimless baking sheet or the back of a rimmed one instead (the latter won’t work for unloading, but the baked baguettes can be moved around with a pair of long-handled tongs).
- Room-temperature proof: Before the dough can be moved into the fridge, the fermentation needs to get solidly underway; in my formula, it sits at room temperature until it's puffy and nearly doubled in volume. This can take anywhere from one to two hours after the fold, depending upon ambient temperatures. After that, it gets pressed gently into the lightly-oiled cake pan, covered tightly, and then moved to the refrigerator.
- Dividing: This formula yields four baguettes, but only two can go into the oven at a time, so you’ll need to stagger the baking of each set by at least 20 minutes. How long you wait before starting the clock on the second batch is entirely up to you, as long as it is within the 48-hour window. For instance, you can make them 20 minutes after the first set, or wait until the following day (this way means you can have fresh-baked baguettes every day!).
- Warming up: Because cold doughs are stiff and hard to shape, the dough needs to warm up before starting the shaping process. It shouldn’t warm up completely, however; the goal is to just take a little of the chill off and get it between 50˚ and 55˚F, which can take anywhere from 30 minutes to one hour, depending on ambient temperatures.
- Preshaping: Most breads get shaped in a three-phase process: an initial preshape, a brief rest to let the dough relax, and a final shaping. This sequence is especially important when it comes to baguettes. You cannot brute force an amorphous blob of dough into a 14-inch long, uniformly-round cylinder in one go; the gluten in the dough will tighten up long before you get it there, leaving it misshapen, and you'll knock out all the gas it contains, ruining its internal structure. Instead, you want to coax it along gradually and gently by first delicately folding the rectangle of dough into thirds like a business letter in one direction, then repeating again in the other direction. This turns the dough into a small, uniform loaf shape that can be easily manipulated into a cylinder after it relaxes for 20 minutes or so.
- Preparing the foil "Dutch oven”: In order to fully enclose the loaves within the foil roasting pan, you start by setting a 20- by 18-inch sheet of aluminum foil on the counter and centering a 16- by 12-inch sheet of parchment over it.
- Transferring the baguettes to the parchment : I explained how to use the transfer peel above, but here it is in a bit more detail: First, you unpleat the couche to separate the loaves, then use the transfer peel to roll the first baguette over, seam side down. You then wedge the peel under the long edge of the baguette, lift the loose end of the couche in your other hand, and then use it to roll the baguette over onto the board, seam side up. Finally, you roll the baguette over one last time onto the sheet of parchment and then use the transfer peel to fine-tune its position and straighten it out, if needed. You then repeat the sequence with the second baguette.
- Scoring the baguette: The classic baguette score is a series of overlapping slashes that are just barely angled off the centerline of the loaf. As the scores expand, they form the almond-shaped openings that give a baguette its distinctive “beanpod" shape.
- Closing the foil “Dutch oven”: Next, you set the roasting pan over the baguettes and then roll the overhanging foil over the rim to seal the packet completely. Then you slide a pizza peel (or a rimless baking sheet) under the foil packet and transfer the whole thing to the baking stone and set a timer for 10 minutes.
- Browning the baguettes: Finally, you return the two loaves to the baking stone for 8 to 10 minutes to brown, rotating them from back to front halfway through baking. Be sure to let them reach an even, deep red-brown color for maximum crispness and a deeply caramelized flavor.
- Cooling: At this point, you might be tempted to rip into one of your baguettes as soon as they are cool enough to handle, especially if it is from one of your first attempts, but resist the temptation if you can! Their texture will actually improve as they cool, since the crust will be dry and hard when it first comes out of the oven. As it sits, the crust will absorb moisture from the interior of the loaf to attain the ideal shattery-crisp texture. The flavor of the baguette will improve over time, too, since aromas from the caramelized crust will penetrate deeper into the crumb.